Developed by Linus Benedict Torvalds, GIT is one of the most popular distributed version control available. It is fast, flexible and run on Linux Kernal. From Google to Microsoft, Facebook to Twitter, Linkedin to Netflix almost every big fish is using GIT for their code management. GIT release under the GNU General Public License version 2.0 which means it is an open source and you can share or alter its source code.
In this tutorial I am going to show you how to install GIT on Windows 10. I am not going to cover its usage right now. I will just download and install GIT. In my upcoming posts I will try to cover its usage.
Steps: Install GIT on Windows 10
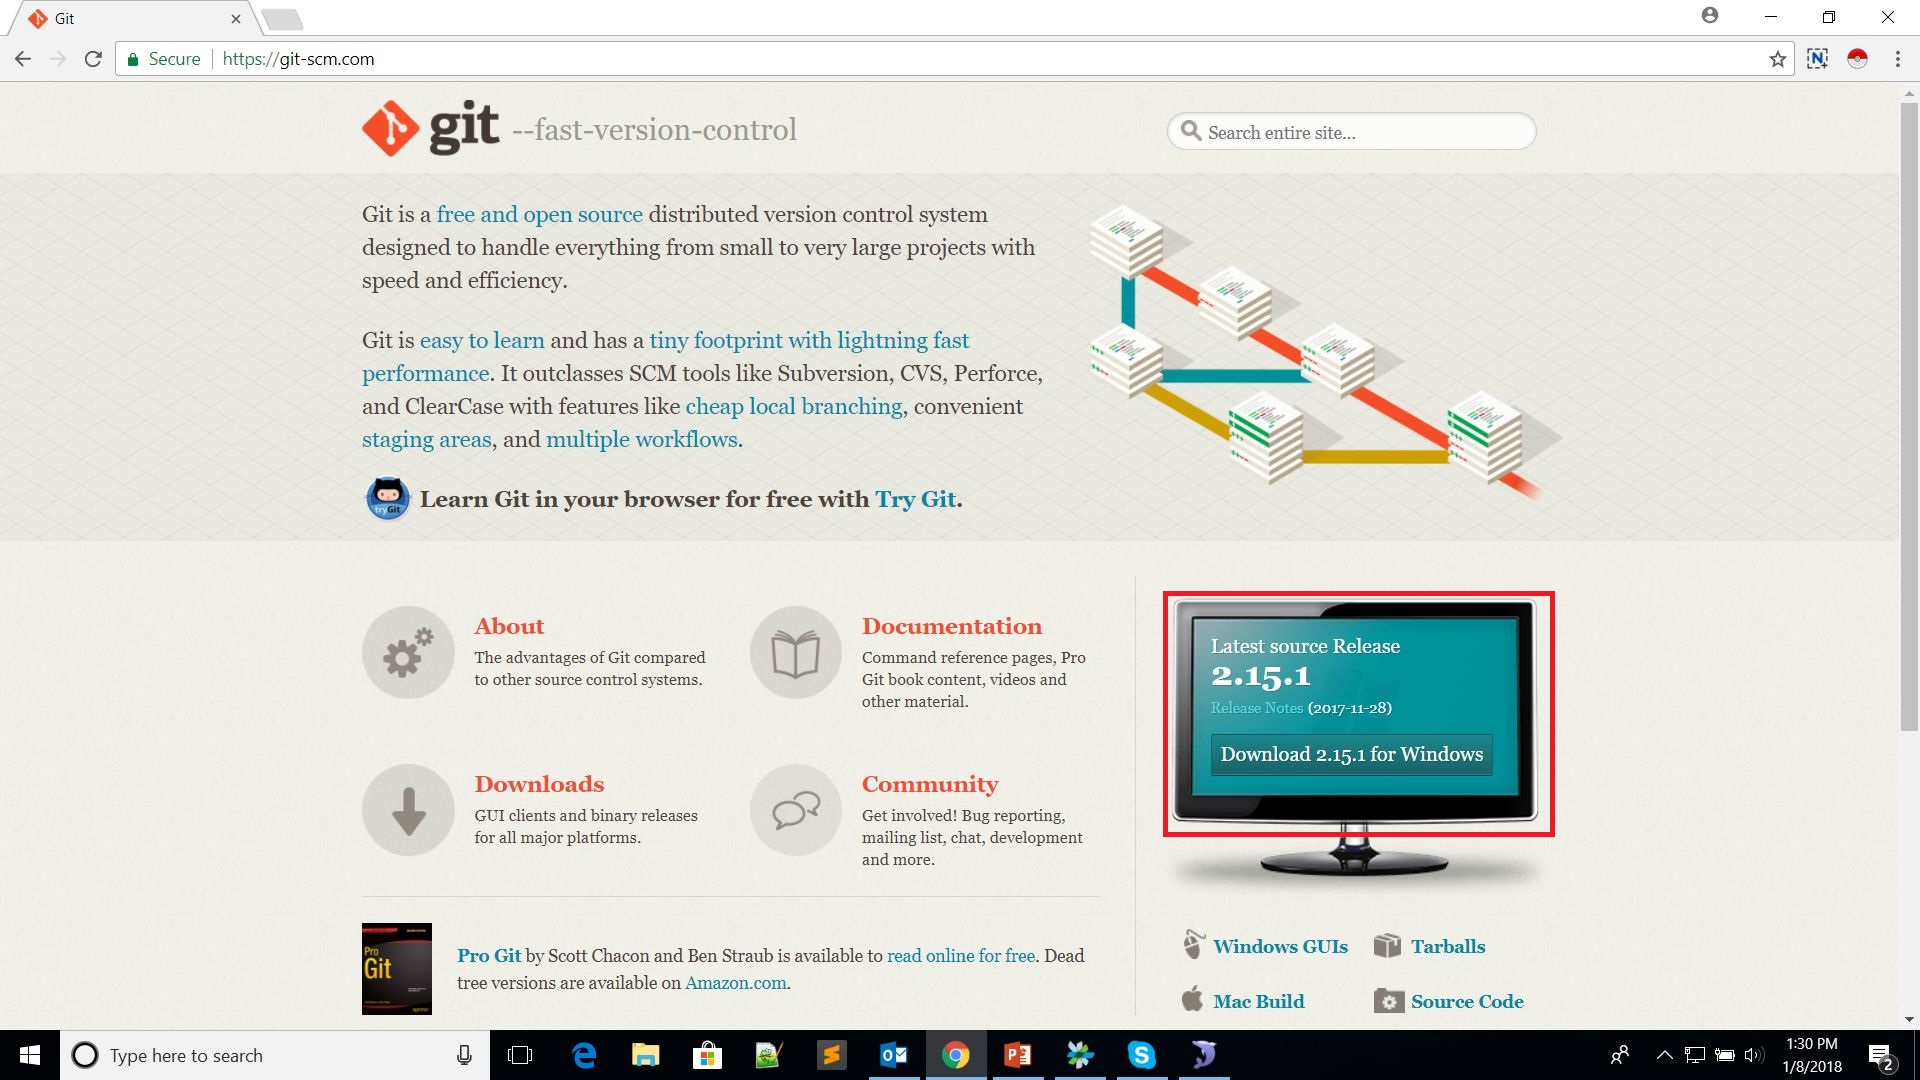
- Download git from https://git-scm.com
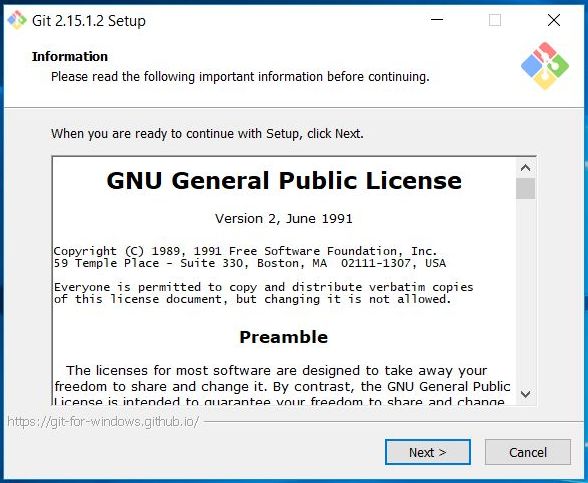
- Click on downloaded exe file and setup wizard opens. Click on next.
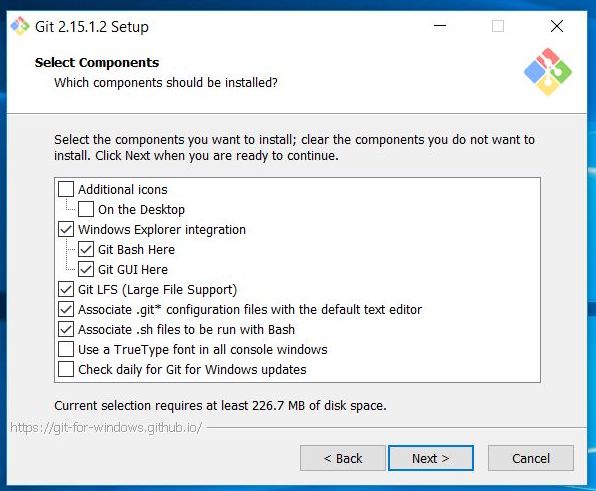
- Select components which you want to install. My suggestion is leave as it is and click on next.
- In this window you can select your default editor which will be used in git messages.
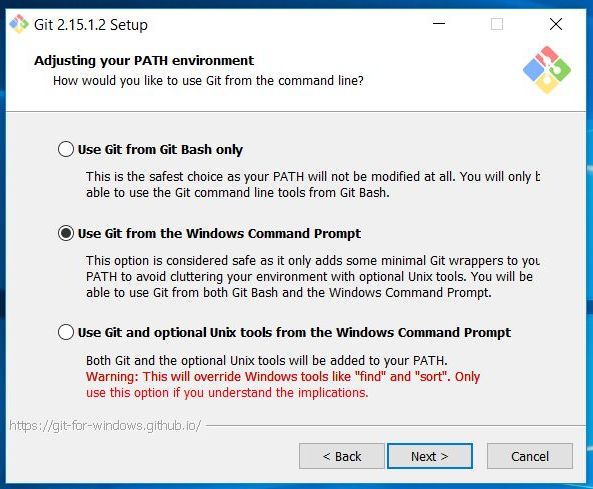
- Next is to adjust environment path. Select second option and click on next.
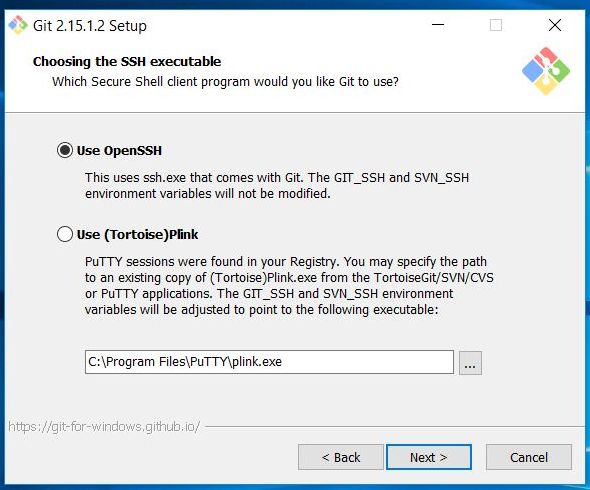
- Choose SSH window will open. Select Use OpenSSH option and click on next.
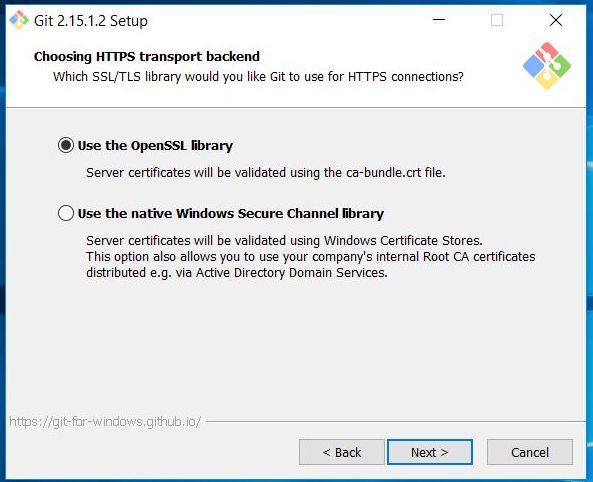
- In this step select “Use the OpenSSL library” and click on next.
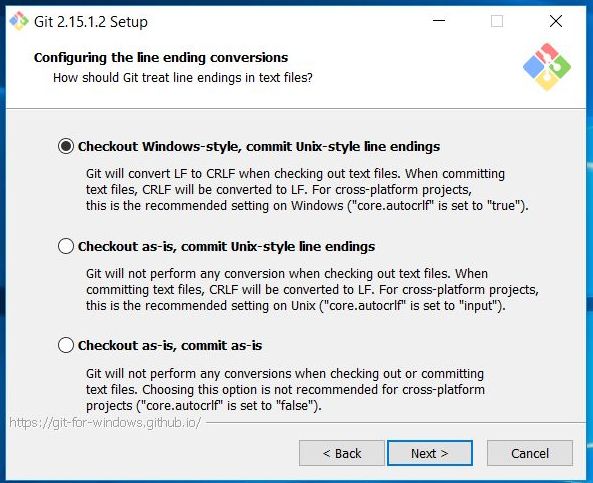
- In configuring the line ending conversion window, select frist option which is “Checkout Windows-style, commit Unix-style line endings” and click on next.
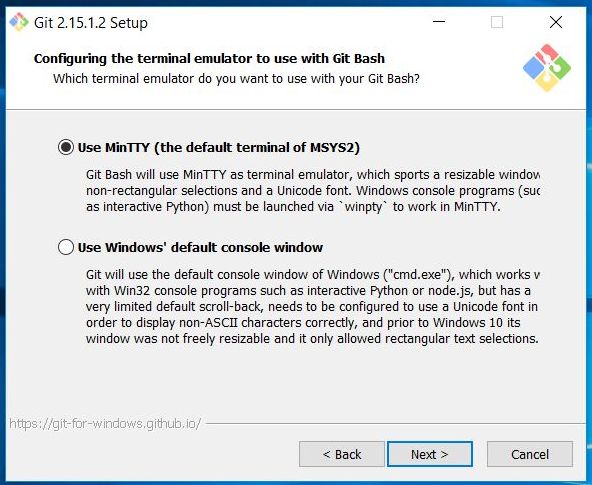
- This window is for selecting terminal emulator to use with git bash. Select first option and click on next.
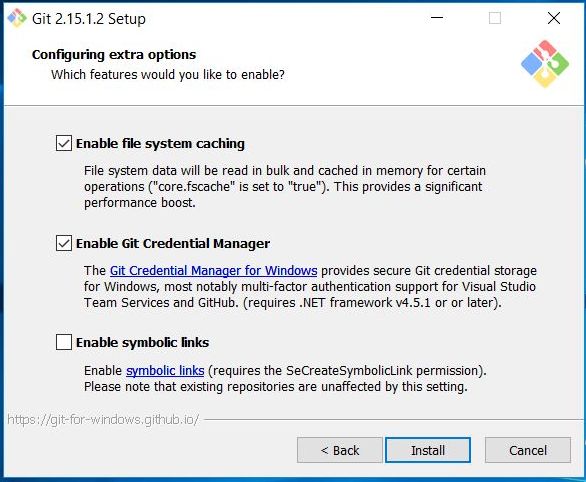
- In extra configuring options select first 2 options and click on Install button.

Also read:
- How to install XAMPP on Windows 10
- How to install Node.js on Windows 10
- How to Install Composer on Windows 10
- How to Setup Multiple Virtual Hosts on XAMPP
- PHP read text file and insert into MySQL database
More from WDB24.com
 PHP Shopping Cart – Update/Delete Product from Cart
 PHP MYSQLi Object Oriented Prepared Statements for beginners
- User Registration in PHP
 How to Add Custom Sidebar in Wordpress
 Laravel Tutorial for beginners – Let’s Understand Directory Structure
 Integrate Google reCAPTCHA v3 – Example in PHP (using AJAX)
- How to use Faker – PHP library that generates fake data
- 10 PHP Url Functions – Every beginner must check