Laravel is a powerful open-source web application framework that provides a rich set of features and tools for fast and efficient development. It was created by Taylor Otwell and is now one of the most popular PHP frameworks. Laravel is built on the MVC architectural pattern and provides numerous features like routing, authentication, sessions, caching, and more. It also allows developers to create custom applications quickly and easily.
So in this tutorial, I am going to show you step by step process of developing laravel application. But before jumping into development, there are some pre-requisites for this tutorial which are:
- Composer (basic)
- Object Oriented Programming Concepts
- MVC design pattern
- Namespace
- Anonymous/Closure Functions
- PSR and autoloading
- HTTP Verbs
- Terminal Commands (basic)
- Local Development Server (XAMPP / WAMP / Laragon / MAMP)
Above are some prerequisites for Laravel development. You must have a basic understanding of mentioned items. Otherwise, you may face some difficulty in Laravel project development.
I will be creating a home page of a Company website that has 5 sections stored in MySQL database.
So let’s start.
Step 1: Download Laravel via Composer
First of all, let’s download Laravel using composer by hitting the following command in the terminal.
|
1 2 3 |
composer create-project laravel/laravel my_website |
The above command will download laravel in the my_website directory.create-project laravel/laravel will always download the latest version of laravel. If you want to download an older version of laravel you need to pass a laravel version like this composer create-project laravel/laravel:^9.0 my_website. Also at the time of writing this tutorial laravel 10 is already released and laravel 10 requires minimum of PHP 8.1. So make sure you downloaded the laravel version compatible with your PHP environment. But my suggestion is not to install laravel version older than 8.
Note: my_website is a project name you can name it whatever you want.
Step 2: Add database credentials in .env file
Now we have successfully downloaded Laravel, Let’s add a database credential in .env file in the project root. .env file is a text file that holds the application environment constant.
|
1 2 3 4 5 6 7 8 |
DB_CONNECTION=mysql DB_HOST=127.0.0.1 DB_PORT=3306 DB_DATABASE=my_website DB_USERNAME=root DB_PASSWORD= |
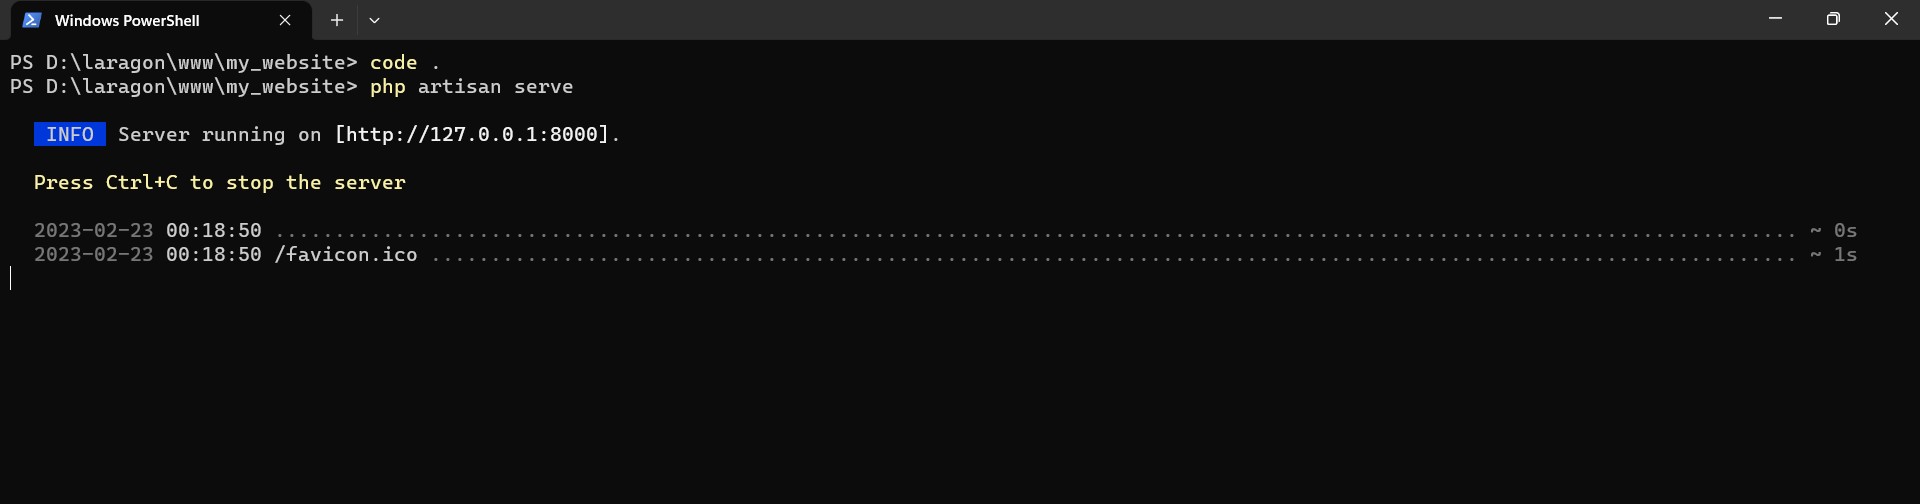
At this stage you can to go the terminal and navigate to my_website folder and type php artisan serve command. You should see something like this
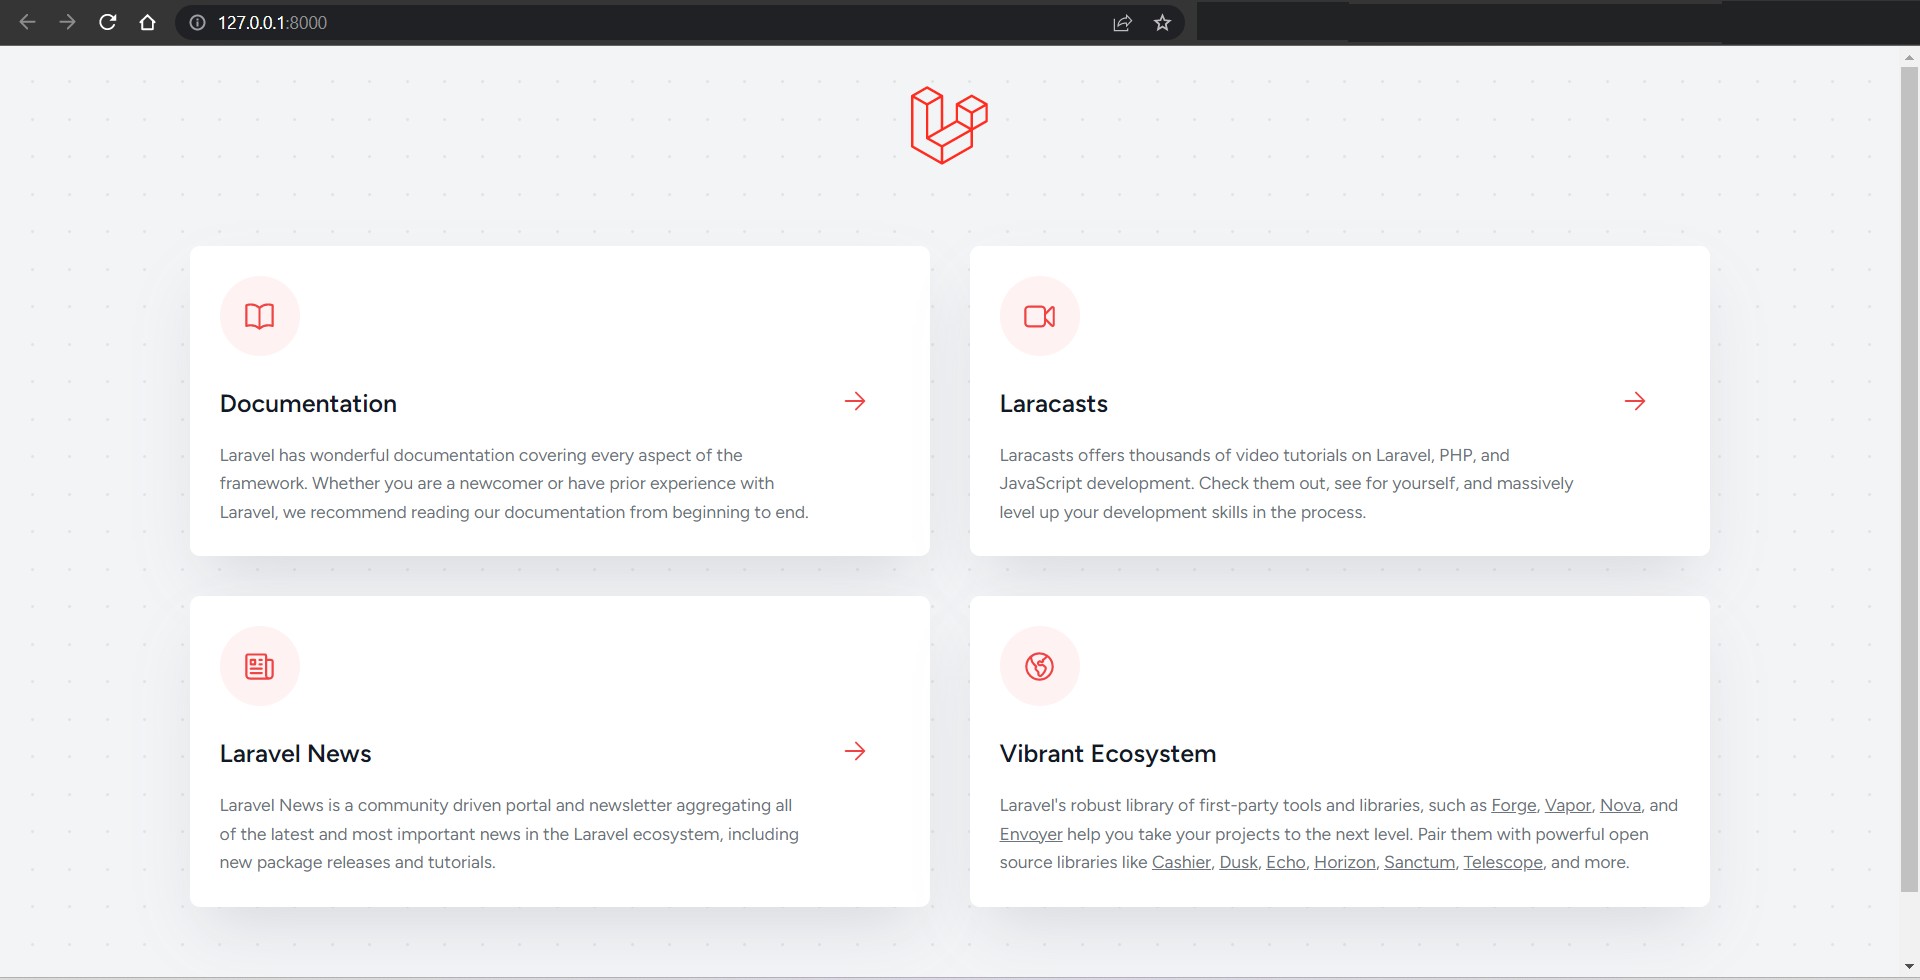
Now you can go to browser and type http://127.0.0.1:8000/. You will see the following window.
So far so good right?
Step 3: Create Database tables using migration
Now it’s time to create database tables. Usually, when we want to create a database table we go to phpmyadmin or any MySQL client and create the table(s) there. But laravel provides a mechanism that is called Migration.
Laravel migration works like version control of a database. It tracks all the database changes and it is easy to share. You do not need to send a .sql file to your fellow developer every time you make a change in database tables.
To create a migration you need to type the following command
|
1 2 3 |
php artisan make:migration create_home_table |
Above command will create a file under database/migrations as timestamp_create_home_table.php.
Note: Delete all the migration files from databases/migrations other than create_home_table.php. We are not using those in this project.
When you open the timestamp_create_home_table.php file you will see the code like this.
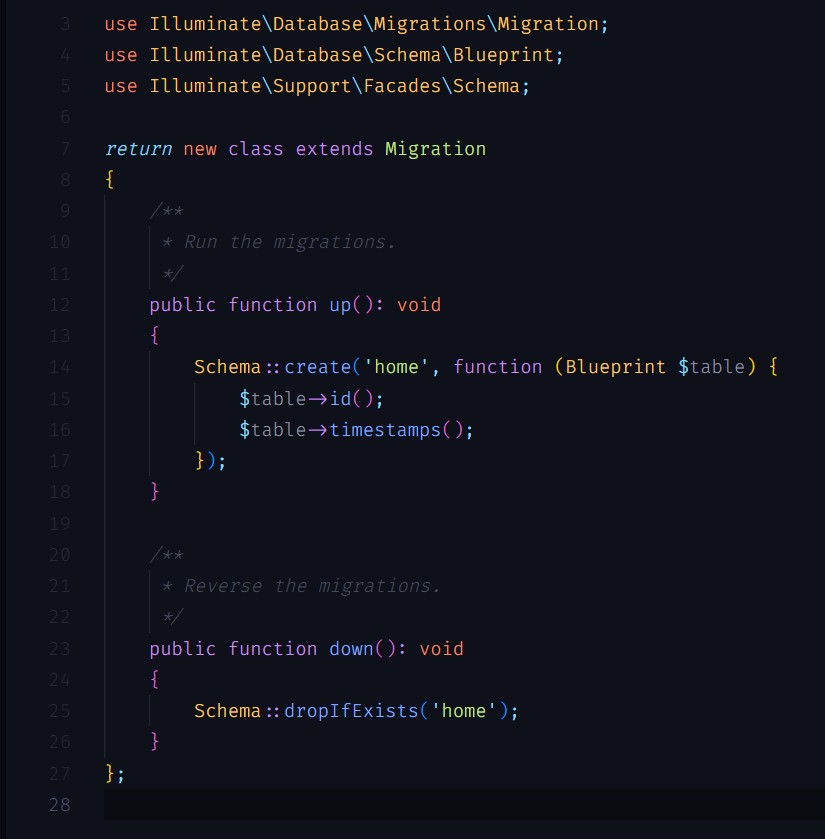
You can see in the above image that there are up() and down() methods in the new class. up() the method will call when we run the migrate command and down() the method will call when we run the fresh, reset, rollback commands.
Up() method uses a Schema class that has a static method as create and create method takes two arguments. One is the table name as string and second is closure function that takes Blueprint class as a dependency injection. Under closure (Blueprint $table), we will add additional columns for home table.
|
1 2 3 4 5 6 7 8 9 |
Schema::create('home', function (Blueprint $table) { $table->id(); $table->string('section_title',255); $table->text('section_desc'); $table->tinyInteger('sort_order'); $table->timestamps(); }); |
I have added 3 new columns with different data types which are string, text, and tiny integer respectively. timestamps() method will create created_at and updated_at column. id() method will create a primary key column with auto increment.
You can check the complete list of available column types from Laravel Migration Column Types.
Now, let’s run the migration in the terminal by hitting the following command.
|
1 2 3 |
php artisan migrate |

Step 4: Database Seeder
Database seeder is used to fill initial data or you can say that dummy data. Laravel provides 2 ways to create seeder data. One is the seeder class and the second is the model factory. In this tutorial, we will be using the seeder class.
To create a seeder, we need to type a command that will create a seeder file under database/seeders
|
1 2 3 |
php artisan make:seeder HomeSeeder |
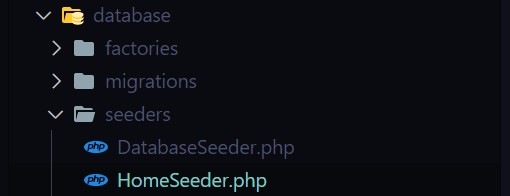
Now replace the below code in HomeSeeder.php file.
|
1 2 3 4 5 6 7 8 9 10 11 12 13 14 15 16 17 18 19 20 21 22 23 24 25 26 27 28 29 30 31 32 |
<?php use Illuminate\Database\Migrations\Migration; use Illuminate\Database\Schema\Blueprint; use Illuminate\Support\Facades\Schema; return new class extends Migration { /** * Run the migrations. */ public function up(): void { Schema::create('home', function (Blueprint $table) { $table->id(); $table->string('section_title',255); $table->text('section_desc'); $table->tinyInteger('sort_order'); $table->timestamps(); }); } /** * Reverse the migrations. */ public function down(): void { Schema::dropIfExists('home'); } }; |
In the above code, we are using DB and Faker classes to populate the data. Now go to the terminal and type the following command to run the database seeder for HomeSeeder.
|
1 2 3 |
php artisan db:seed HomeSeeder |
After hitting command, 5 record will insert in home table.

Step 5: Create Model
Laravel Model is a way to represent data in your Laravel application. Models are used to interact with the database and retrieve and store data. Models allow you to query for data in your tables, as well as insert new records into the table. Models also serve as the transformation layer between your database and the user, providing an easier way of converting your data into a usable form.
You can create a model using the following command.
|
1 2 3 |
php artisan make:model Home |
Above command creates a Home model in /app/Models/ directory. Open the Home.php file and you see the below content
By default, laravel assumes the class name as a database table. But if your database table is different from class name, you can create a protected property name as$table and pass the table name in $table just like below.
|
1 2 3 |
protected $table = 'home'; |
Usually, we take the id column as a primary key of the table and laravel also assumes the same. But if your database table has a different primary column you can also mention that in a protected property like this.
|
1 2 3 |
protected $primaryKey = id'; |
Laravel also prevents mass assignable vulnerability by default. Laravel provides 2 options for that. One is $fillable and second is $guarded.
Step 6: Create Route
Route in Laravel is a mechanism that is used to map URLs to specific controller actions. It is a way of creating a custom URL structure that is more user-friendly and search engine friendly. It allows us to define the URL structure and map it to the controller actions. Routes can also be used for authentication, redirecting, and caching.
Laravel provides 6 types of routes for HTTP Request which are:
|
1 2 3 4 5 6 7 8 |
Route::get($uri, $callback); Route::post($uri, $callback); Route::put($uri, $callback); Route::patch($uri, $callback); Route::delete($uri, $callback); Route::options($uri, $callback); |
Each route takes a URI as the first parameter and a callback/anonymous function as the second parameter. You can also pass the controller name and method in a second parameter as an array.
The default route in routes/web.php file is a get route that returns the welcome page. I will remove the default route and create a new get route like this
|
1 2 3 |
Route::get('/',[HomeController::class,'index']); |
Above route will pass the root URL to the index method of HomeController class. But wait we didn’t create any HomeController. So let’s create it
Step 7: Create Controller
In Laravel, a controller is a PHP class that provides a logical way to group related request handling logic. Controllers are stored in the app/Http/Controllers directory. The base controller class included in the default Laravel application is the App\Http\Controllers\Controller class.
So in the above route section, we created a route that will pass the domain root URL to the index method of HomeController. Now let’s create a HomeController by using the following command
|
1 2 3 |
php artisan make:controller HomeController |
The above command creates a HomeController.php file in app/Http/Controllers/ directory with the following code.
|
1 2 3 4 5 6 7 8 9 10 11 12 |
<?php namespace App\Http\Controllers; use Illuminate\Http\Request; class HomeController extends Controller { // } |
Let’s create an index function and return ‘Welcome to my website’.
|
1 2 3 4 5 6 |
public function index() { return "Welcome to my Website"; } |
Run the php artisan server by typing php artisan server in the terminal. If you already started the server then go to http://127.0.0.1:8000/ and you will see the below message

- Added database credentials in
.envfile, - Created migration of home table,
- Added dummy data in the home table using a seeder
- Created a model for a home table
- Created a first route
- Created a controller in which there is an index method that will handle the main request
Step 8: Create a View
In Laravel, a View is a file that contains HTML, PHP, and/or blade templates to render data in the browser. They are usually stored in the resources/views directory and contain HTML, JavaScript, and CSS code. They are used to present information to the user in a structured way. Views are usually rendered by controllers and are often linked to models to retrieve data.
I am going to create a home.blade.php file in the resources/views directory. Views files in laravel usually have .blade.php extension. The blade is a powerful template engine of laravel that offers many features which we will see later in this tutorial.
|
1 2 3 4 5 6 7 8 9 10 11 12 13 |
<!DOCTYPE html> <html lang="{{ str_replace('_', '-', app()->getLocale()) }}"> <head> <meta charset="utf-8"> <meta name="viewport" content="width=device-width, initial-scale=1"> <title>My Website</title> </head> <body> </body> </html> |
Step 9: Call a Model in Controller and pass data to view
To call a model in the controller you just need to import the namespace of the model with the model name.
|
1 2 3 |
use App\Models\Home; |
Now I am going to use Home Model in the index method and get all the records from a home table and pass those records to the home view.
|
1 2 3 4 5 6 7 8 |
public function index() { $homeSection = Home::all(); return view('home',compact('homeSection')); } |
You can see in the above code I just called the all() method in Home model and it will return all the records in home table. That is the beauty of Laravel ORM which is called Eloquent.
One more thing, In Laravel there are plenty of ways to do one thing. Here instead of calling Home::all() you can call Home::get() and Home::get() will return all records. I used Home::all() for readability purpose. When someone will look at the above code we will know immediately that we are fetching all the records from a home table.
After fetching all records in $homeSection variable. I called a home view and passed $homeSection variable using compact() function.
Step 10: Display Controller data in View
So in step 8 I already created a file name as home.blade.php. And in the 9th step, I successfully get the home section and pass it to view using compact() function. Now it’s time to print $homeSection in home.blade.php file. But before that let’s have a look at some of the most common blade directives which we are going to use:
- {{ }} is used to print variable
- @if, @elseif, @else, and @endif will use for condition
- @isset($records) and @endisset is used to check variable and their value
- @empty($records) and @endempty is used to check empty
- @for and @endfor is used for, for loop
- @foreach and @endforeach are used for foreach loop
- @include is used to include file
- @php and @endphp are used to write raw php code
- @section defines a section of content
- @yield is used to display the contents of a given section
Using above directives following code will use to display home sections
|
1 2 3 4 5 6 7 8 9 10 11 12 13 14 15 16 17 18 19 20 21 22 23 24 25 26 27 28 29 30 |
<!DOCTYPE html> <html lang="{{ str_replace('_', '-', app()->getLocale()) }}"> <head> <meta charset="utf-8"> <meta name="viewport" content="width=device-width, initial-scale=1"> <title>My Website</title> <style> body{ background:lightgray; } .home-section{ border:1px solid #eeeeee; margin:10px 0; padding:5px; } </style> </head> <body> @isset($homeSection) @foreach($homeSection as $section) <section class="home-section"> <h2>{{$section['section_title']}}</h2> <p>{{$section['section_desc']}}</p> </section> @endforeach @endisset </body> </html> |
If you go back to your browser and refresh, you will see the below content.

Congratulations, You have created your first laravel route using the Model, View, and Controller approach.
More from WDB24.com
 User Registration in PHP
 PHP Shopping Cart – Setup Directory Structure and MYSQL Database
 PHP CURL tutorial with Examples
- How to sort html table columns using PHP jQuery and Ajax
- How to use PHP password_hash in Registration and Login form
- Retrieve data from database and display in php form
 How to install Codeigniter in Xampp
 Configure Virtual Host for Laravel in XAMPP