Launched in June 2011, Laravel is one of the most popular open-source PHP framework till now. Laravel is developed by Taylor Otwell and follow MVC (Model-View-Controller) design pattern. Purpose of laravel is to bring more advanced alternative to the Codeigniter framework, which did not provide certain features like user authentication and authorization.
I am not going to cover laravel features in this post. I will do that in my upcoming tutorials. In this tutorial I am just going to cover step by step laravel installation on windows using XAMPP.
Laravel Version and Requirements:
At the time of writing this post stable version of laravel is 8 and it has following requirement to run on server.
- PHP >= 7.3.0
- OpenSSL PHP Extension
- PDO PHP Extension
- Mbstring PHP Extension
- Tokenizer PHP Extension
- XML PHP Extension
- Ctype PHP Extension
- JSON PHP Extension
XAMPP:
Dont worry about above requirements, your XAMPP has all the above extension by default. If just in case you don’t have xampp on your windows machine then read my post.
Composer:
Another thing which is must for laravel installation is “Composer”. If you don’t know what is composer then in simple word “Composer is a tool for dependency management in PHP”. For more details and composer installation read my post.
Steps: Laravel installation on windows using XAMPP
Now you have both XAMPP and Composer on your windows machine. Lets install laravel by follow below points.
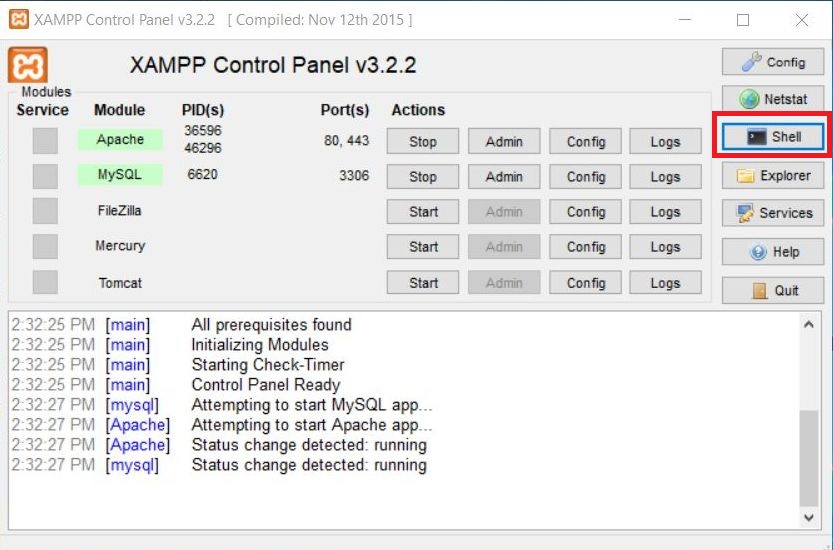
- Open XAMPP control panel and click on Shell. Then terminal will open with a cursor in XAMPP folder. Screenshot step 1
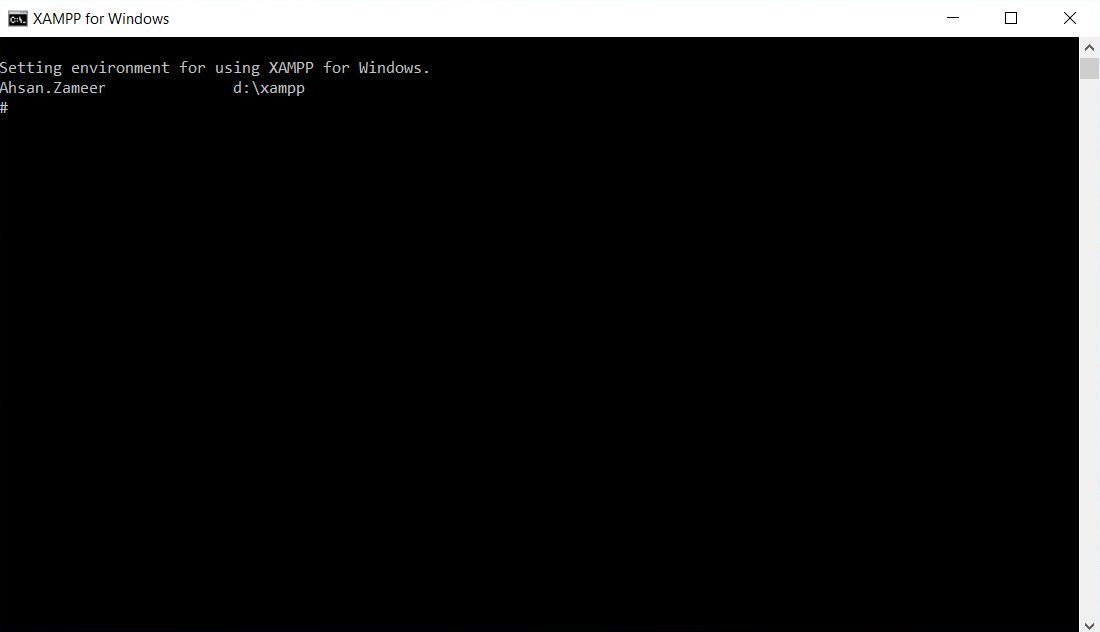
- Type Composer and press enter just to check composer is working fine. Screenshot step 2
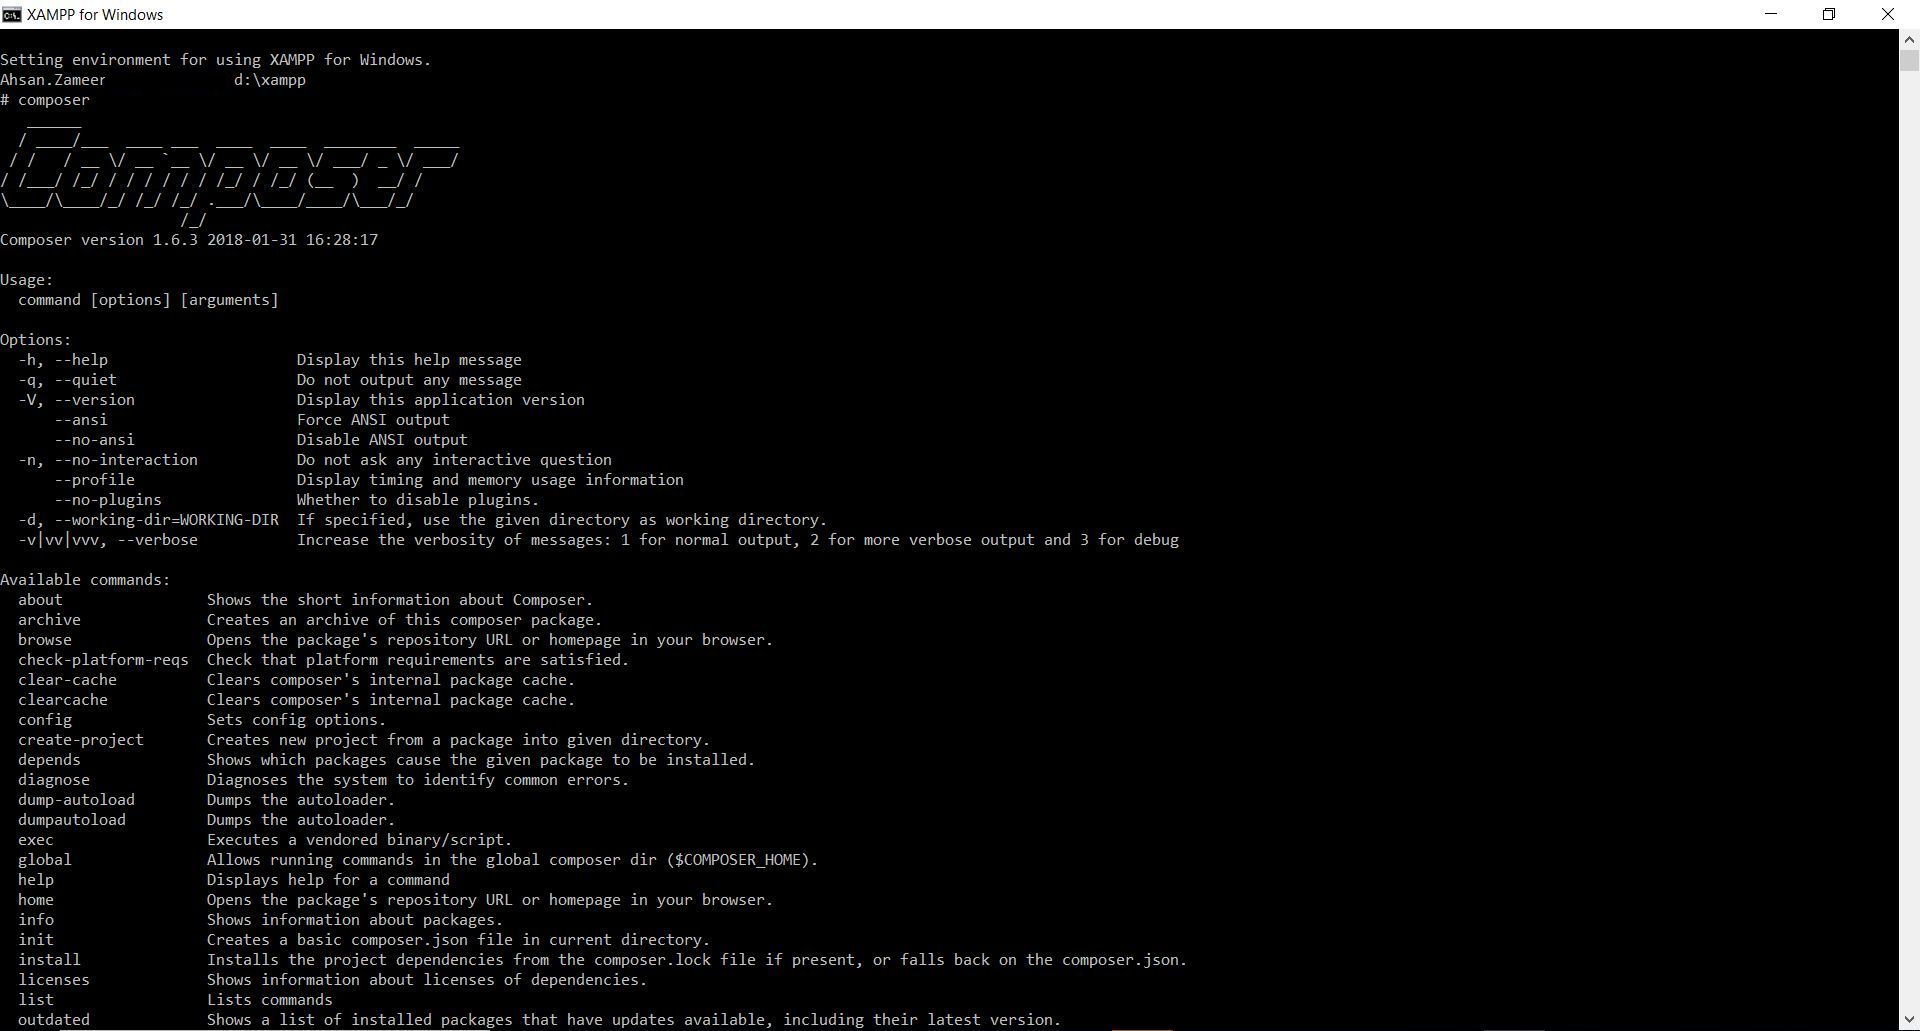
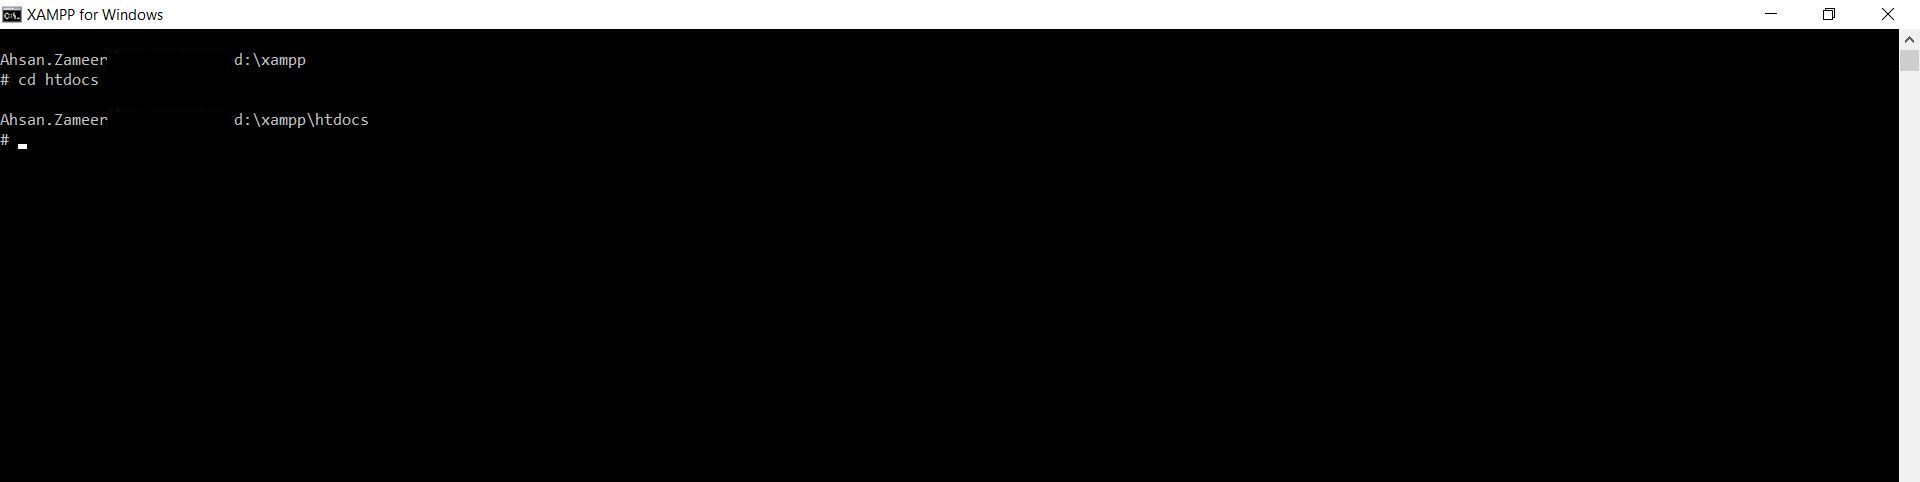
- Type
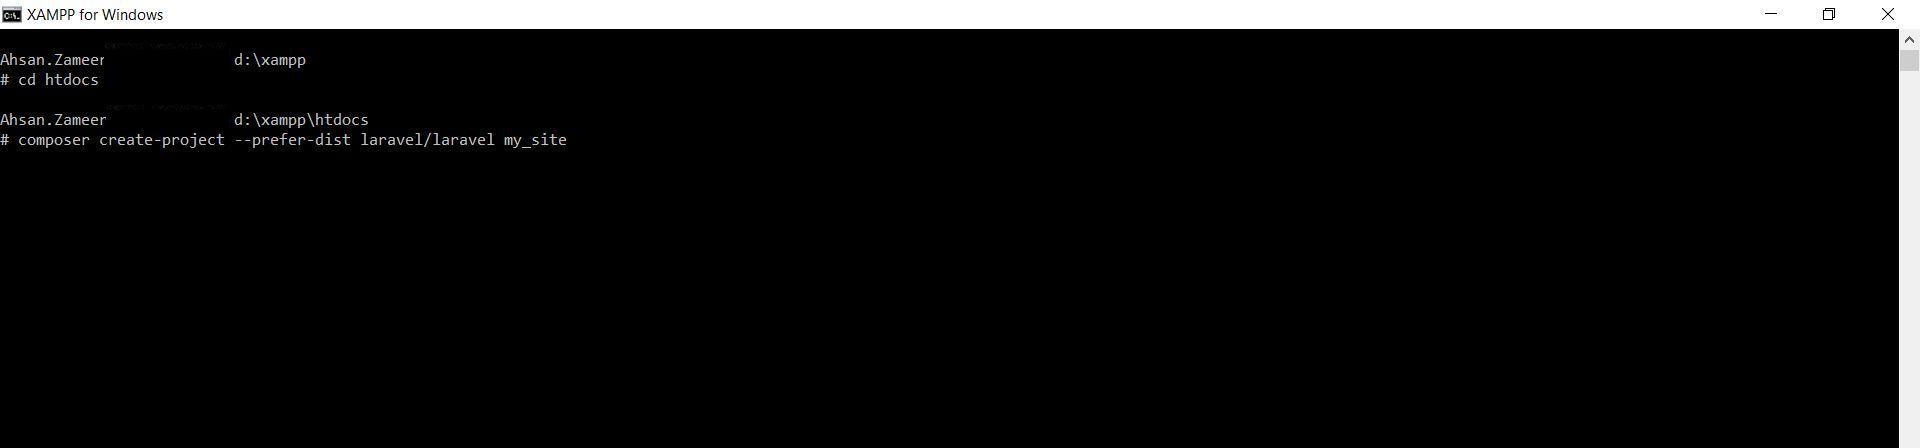
cd htdocsto go in htdocs folder. Screenshot step 3 - Now Type
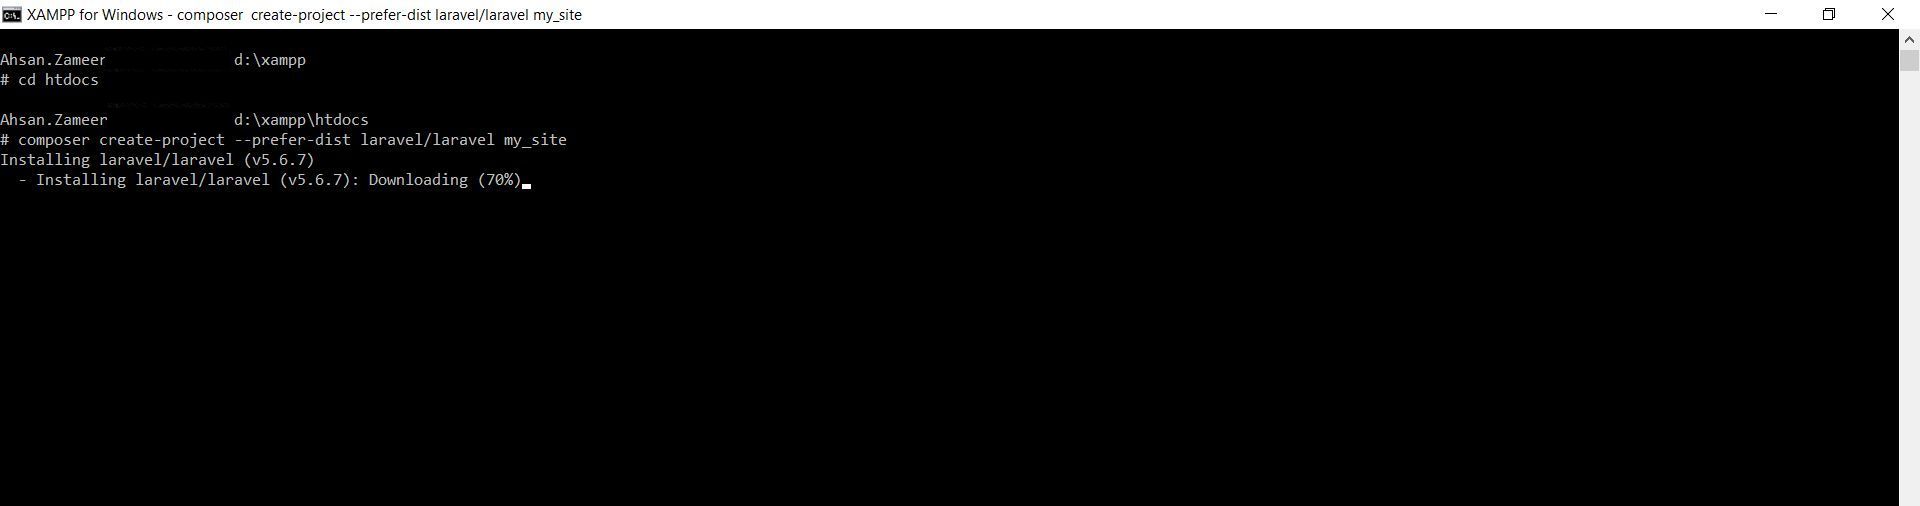
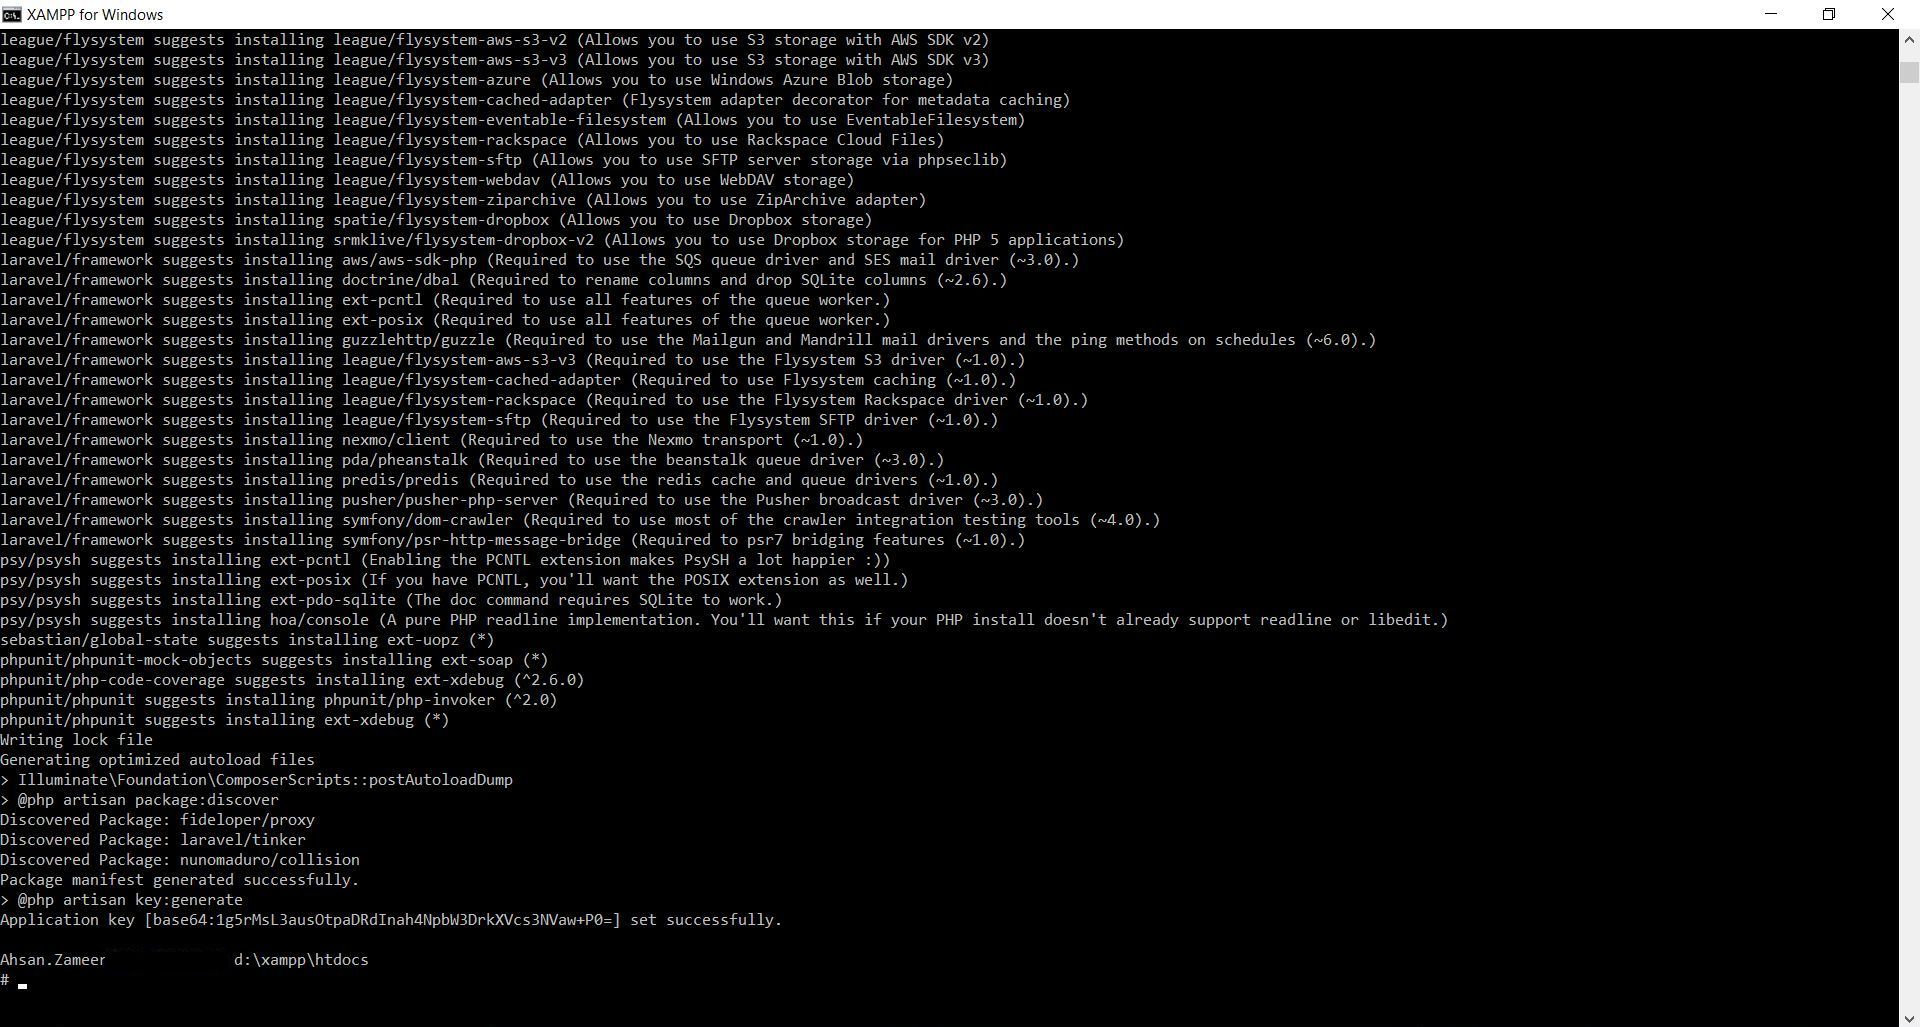
composer create-project --prefer-dist laravel/laravel my_site.composer create-project --prefer-distis a composer command,laravel/laravelis a repository andmy_siteis folder name that create on run time and laravel install in it. Screenshot step 4 - Laravel installation will take some time Screenshot step 5
- After installation type
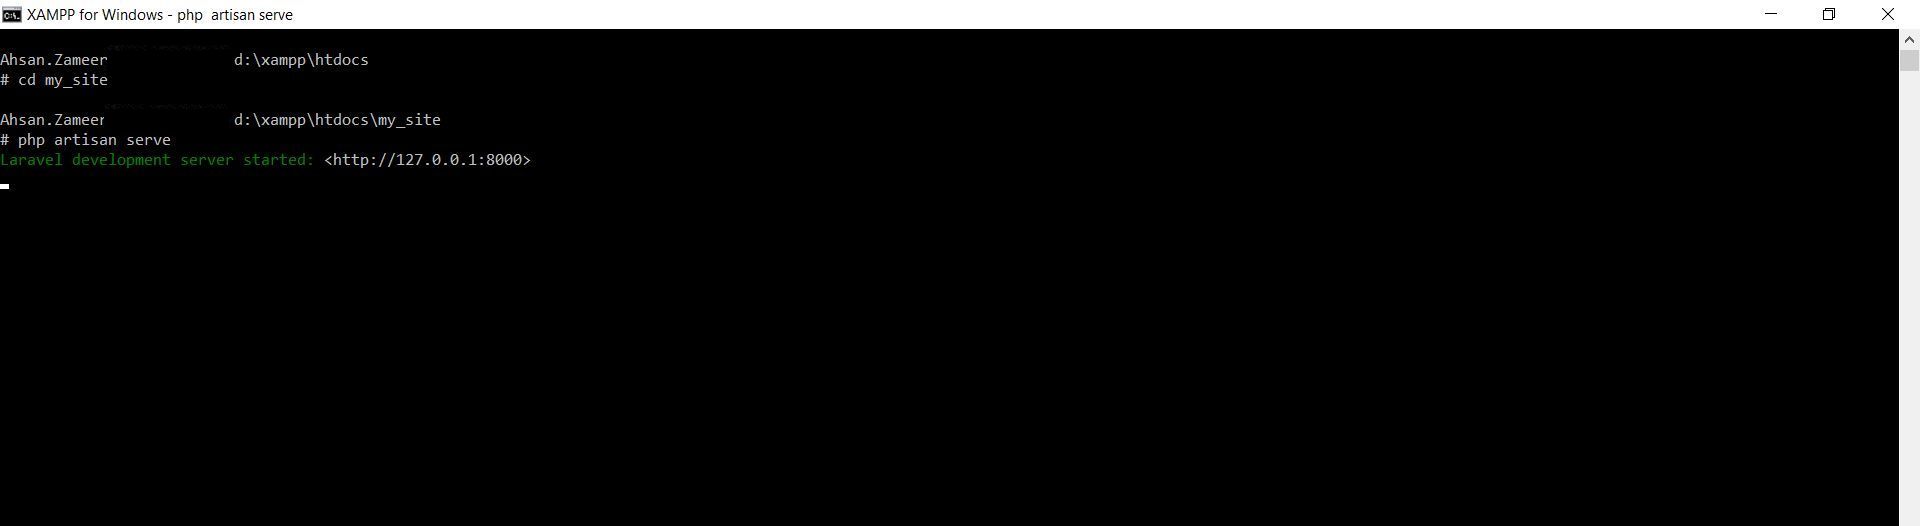
cd my_siteand then typephp artisan serveScreenshot step 6 - After typing
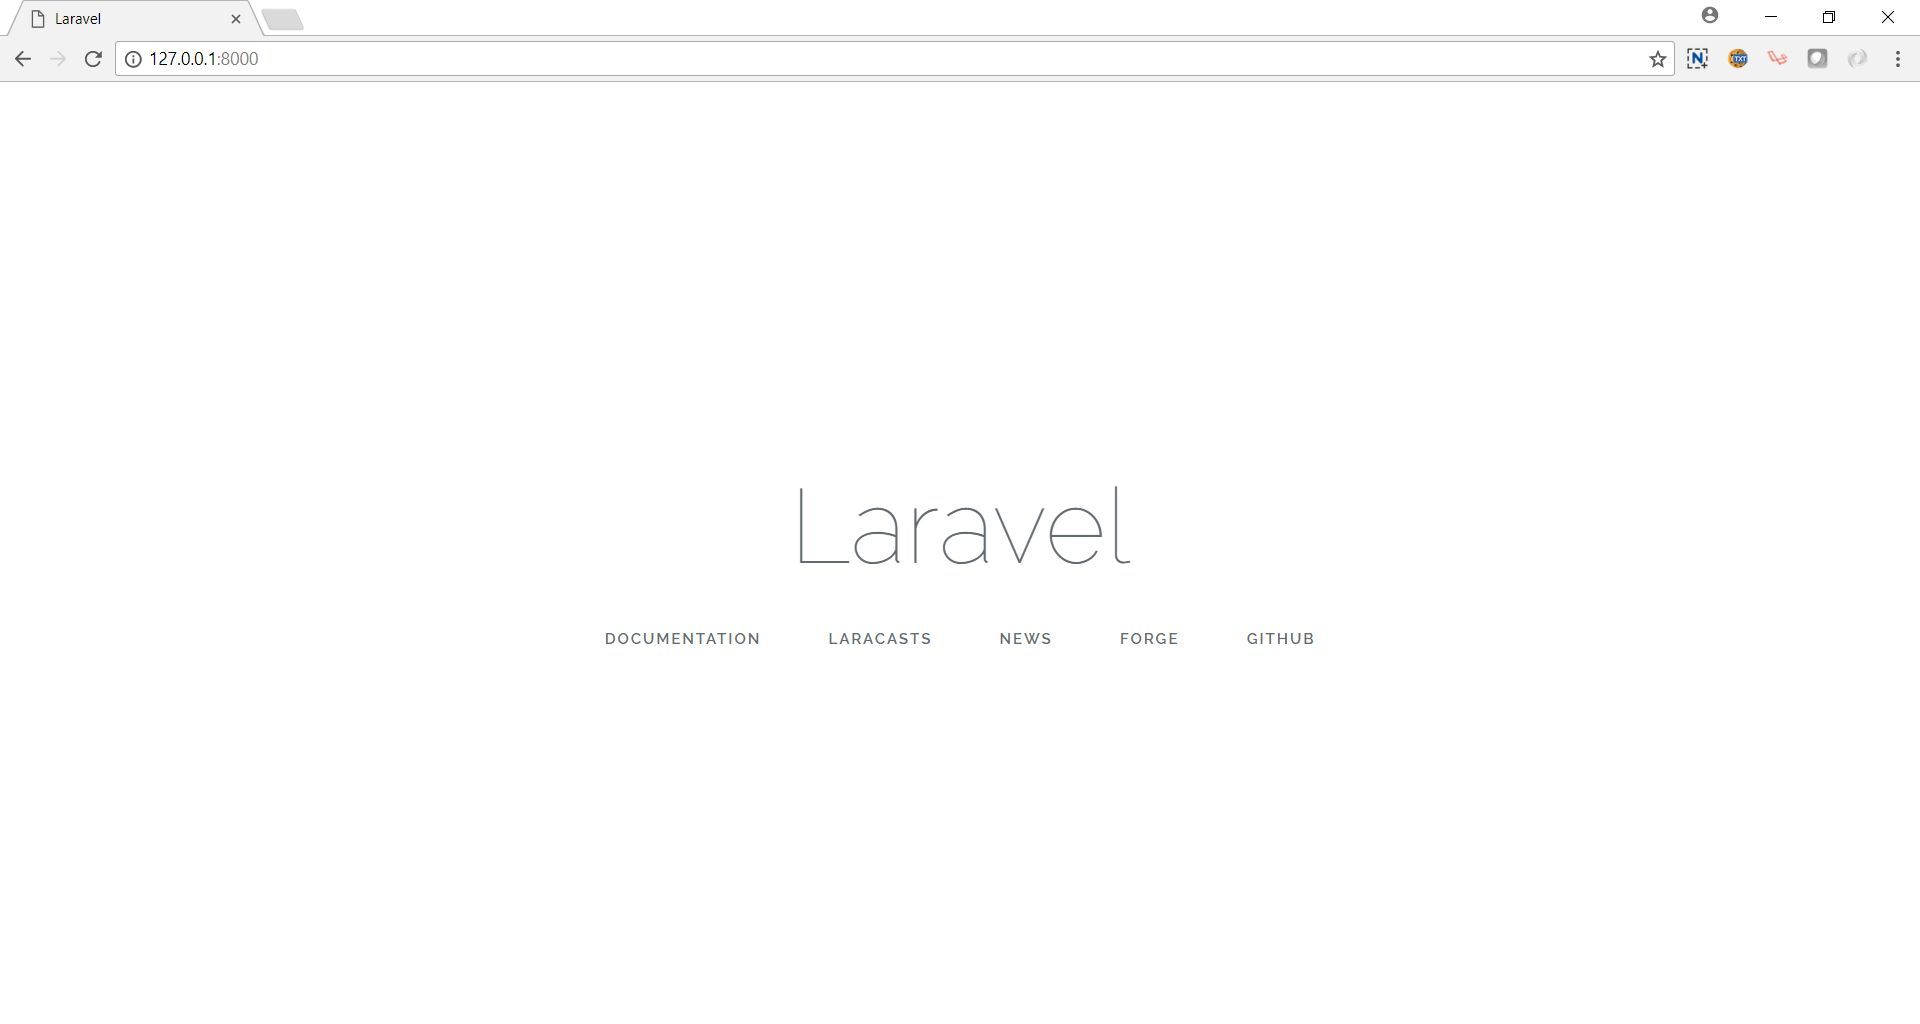
php artisan serve. Laravel serve will start and show message like “Laravel development server started: “. Don’t worry if you get different http address. Screenshot step 7 - Just copy http://127.0.0.1:8000 and hit in the browser. Screenshot step 8
- Congratulation! You have successfully installed laravel on windows using xampp.
For you convenience I am attaching screenshot of each step.
Step 1:
Step 2:
Step 3:
Step 4:
Step 5:
Step 6:

Step 7:
Step 8:
If you find any problem during installation feel free to comment on this post. I will try my best to answer your comment as soon as I can.
Also Read:
More from WDB24.com
 How to get the First and Last Day of every month in a given Year Using PHP
- How to pass $_GET to command line arguments in PHP (with example)
 PHP Shopping Cart – Checkout code with validation
 How to Integrate Faker as a Third Party into Codeigniter
- PHP Encode and Decode Mysql Data into JSON
- Create and Drop MYSQL Database using PHP
- User Registration in PHP
- PHP Shopping Cart – Display Products from Database
Great Man , Awesome : You Did it so well